
How to create your first filter
Every filter starts the same way, whether you build it with the Builder or the Classic Panel - name it, choose a post type, then pick how you want to build it.
In short
Go to Category Filter → Filters in your dashboard, click Create New Filter, then enter a name, choose your post type, and pick either With Builder or Pre-Built Panel.
Creating a new filter
-
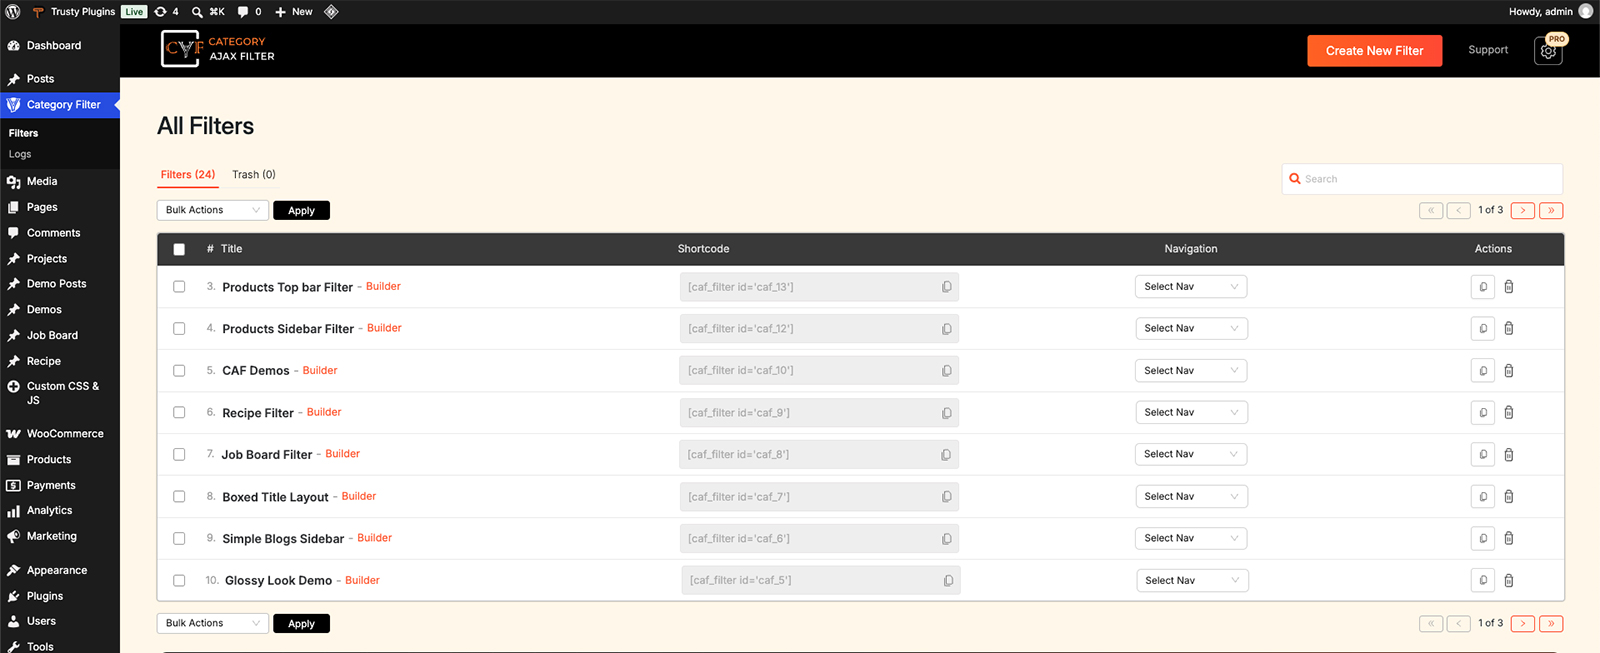
Go to Category Filter → Filters
In your WordPress dashboard, click Category Filter in the left-hand menu, then Filters to see your list of existing filters.
-
Click Create New Filter
At the top of the All Filters screen, click Create New Filter.
-
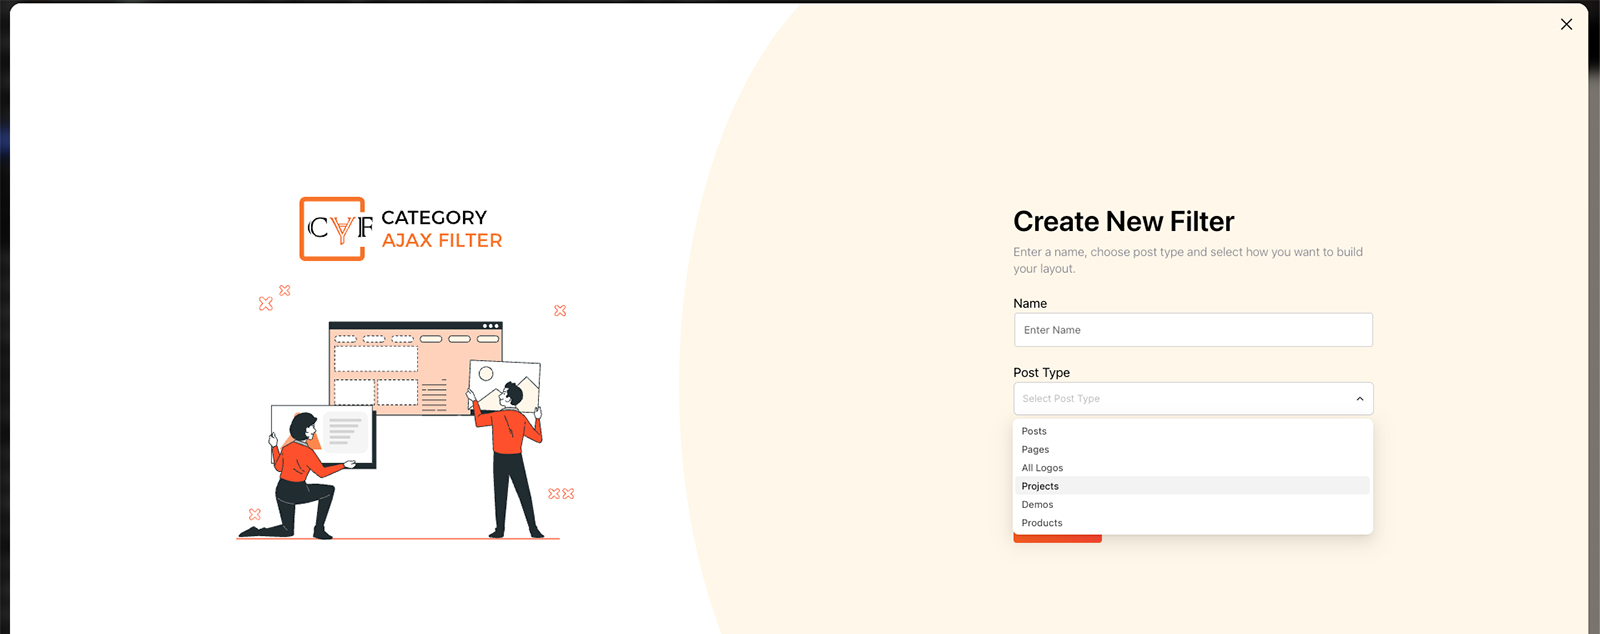
Enter a name and choose a post type
In the Create New Filter window, give your filter a name, then choose which post type it should filter - posts, a custom post type, or WooCommerce products.
-
Choose how you want to build it
Pick Pre-Built Panel for the Classic Panel, or With Builder for the visual drag-and-drop builder - With Builder is selected by default. Then click Create.

Note
Choosing With Builder takes you straight into Step 1 : Query & Filters, the first step of the Builder. Choosing Pre-Built Panel takes you to the Classic Panel settings screen instead.
Was this page helpful?
Thanks for your feedback!